
Fiber Exhaustion? The WISP & MSP's Field Guide to Passive CWDM Expansion
A Step-by-Step Guide to Link Budgets, Third-Party Optics, and the Pitfalls Datasheets Never Mention
An urgent call comes in from a client: a new 10G circuit, and they need it live this week. You confidently pull up your fiber map, and your heart sinks—the last pair of strands was allocated just last week.
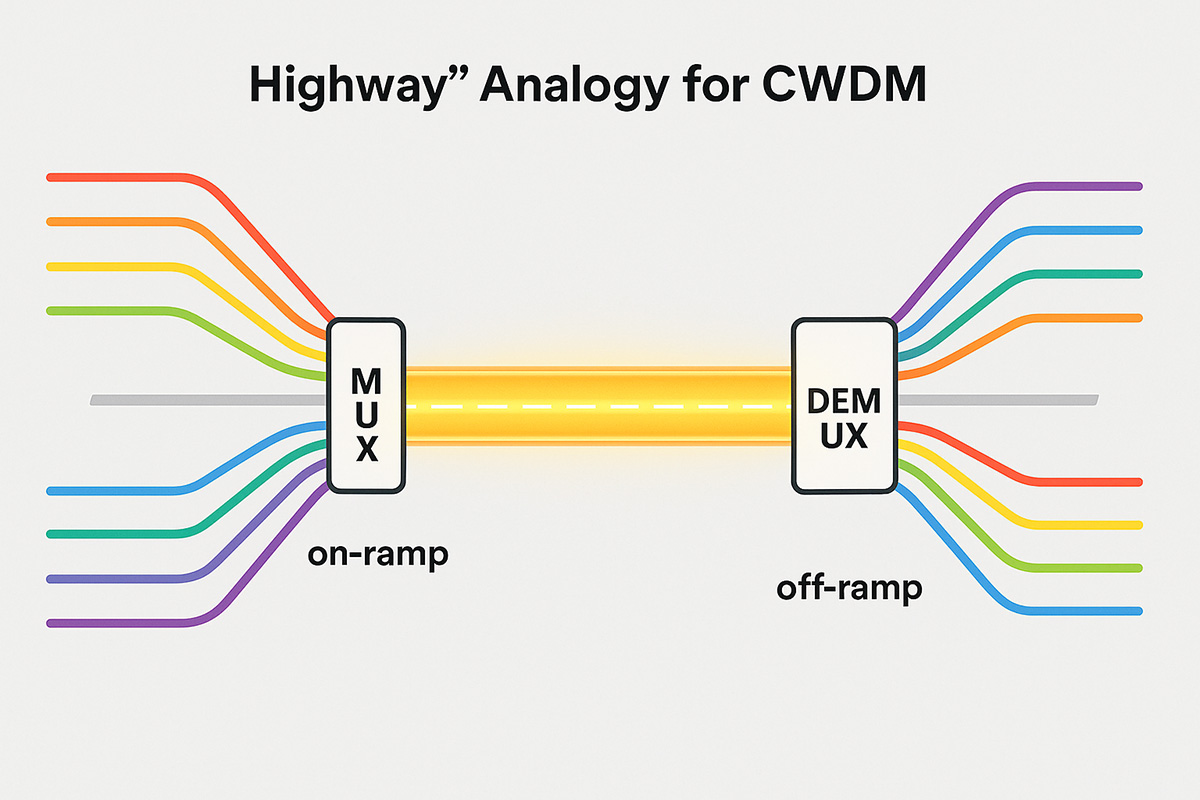
What is CWDM? In Plain English
Forget the textbook definition. Here’s how CWDM actually works: It turns your single fiber strand into a multi-lane superhighway. The MUX/DEMUX boxes you install at each end are simply the on-ramps and off-ramps. Each of your signals gets its own "color" of light—basically, its own private lane. You feed your signals into the MUX, it puts each one on a different colored wavelength and sends them all down the single fiber. The DEMUX at the other end just splits them back out, perfectly sorted. Simple as that.
CWDM vs. DWDM: The Right Tool for the Job
| Feature | ||
|---|---|---|
| Metro/regional networks, WISP backhaul optimization (<100km) | Long-haul backbones, massive data center interconnects |
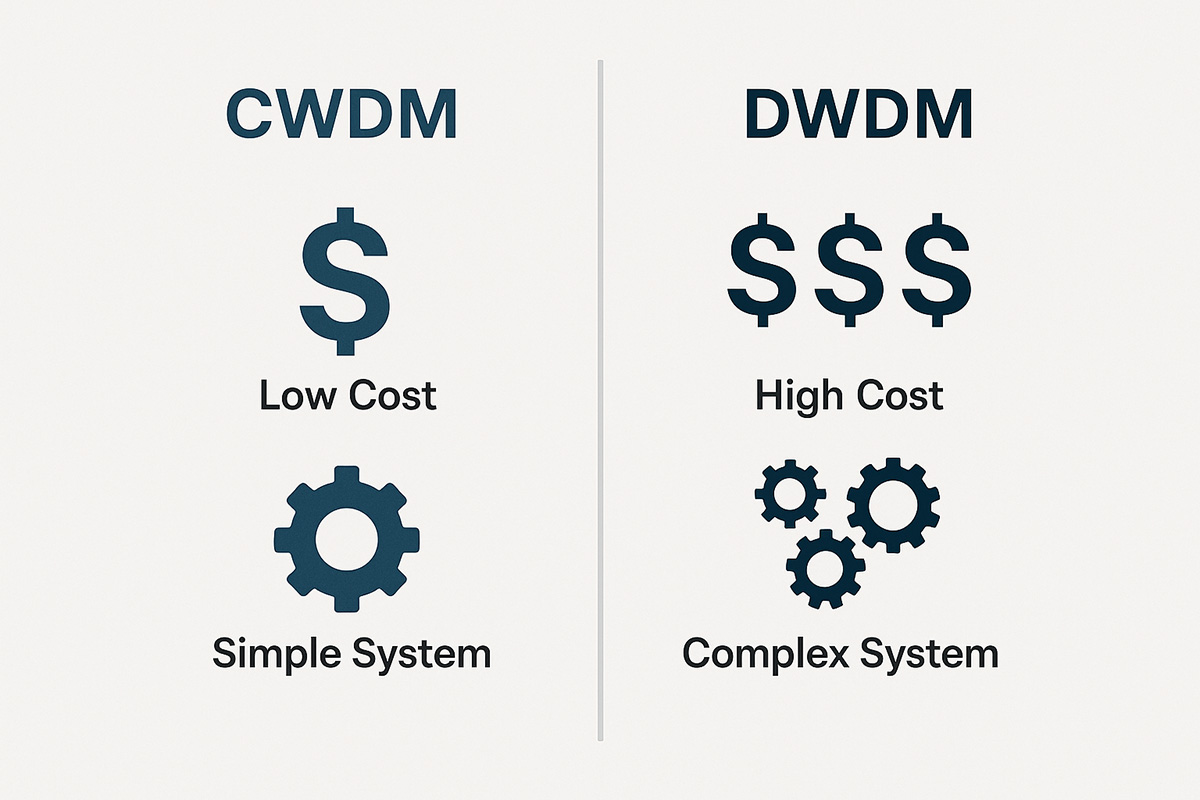
So, what's the verdict? If you're building a national backbone or need to cram 96 channels onto a fiber, you need DWDM. No question. But for the rest of us—the MSPs and WISPs solving problems inside a city—CWDM hits the sweet spot. It delivers the performance you need without the complexity and cost you don't.
Your CWDM Toolbox: Core Components & Pro Ports
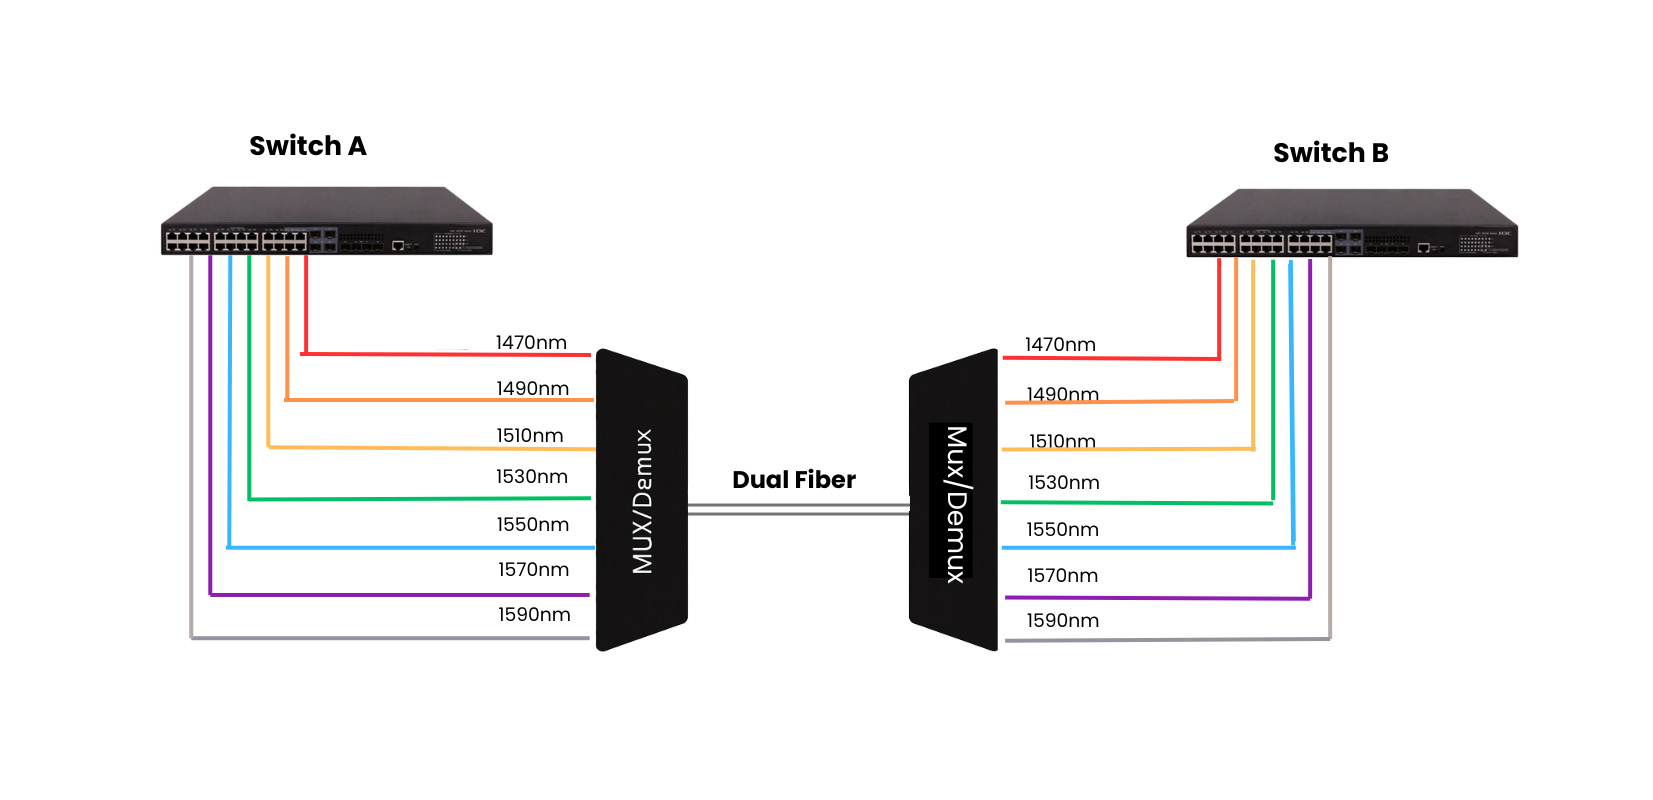
CWDM MUX/DEMUX: The heart of the system. Available in 4, 8, 16, or 18-channel variants.Wavelength-Specific SFP/SFP+ Transceivers: This is crucial. You must use "colored" optics that exactly match the wavelength printed on the MUX port. For example, the
port labeled 1470 requires a 1470nm transceiver.Fiber Patch Cables: To connect your switch/router ports to the MUX/DEMUX.
Pro-Tip: Understand These Special Ports to Sound Like an Expert
1310nm Port: A "pass-through" port. If you have a legacy 1310nm service (like an existing 1G-LX link), you can pass it through the MUX without needing a colored optic.Expansion (EXP) Port: For future growth. This port allows you to daisy-chain two MUX/DEMUX units together (e.g., two 8-channel units) to create a 16-channel system
without replacing your existing hardware.Monitor (MON) Port: Your "diagnostics" tap. You can connect an OTDR or optical power meter here to monitor the total power and health of the entire link without interrupting
live traffic.
The 3-Step Deployment Field Manual
Step 1: Calculate Your Link Budget (Where Projects Live or Die)
Transceivers: Tx Power of-2dBm , Rx Sensitivity of-14dBm .MUX/DEMUX: 8-channel units, with a max insertion loss of2.5dB each.Fiber: OS2 single-mode, with an approximate loss of0.25dB/km at 1550nm.
| Parameter | Calculation | Result |
|---|---|---|
|
| (-2dBm) - (-14dBm) |
|
|
| 2.5dB (Site A) + 2.5dB (Site B) | 5.0 dB |
|
| 10km * 0.25dB/km | 2.5 dB |
|
| 5.0dB + 2.5dB |
|
|
| 12dB - 7.5dB |
|
Step 2: Smart Gear Selection (Wisdom from the Community)
Fiber Type: There is only one choice:Single-Mode Fiber (SMF/OS2) . Do not even consider multimode (MMF). As the veterans on Reddit's r/networking say: "For all new installs, MMF is dead."Transceivers: OEM vs. Third-Party (The Elephant in the Room) Yes, OEM colored optics from Cisco or Juniper are absurdly expensive. So, are third-party optics from vendors like FS.com or Flexoptics reliable?
The answer is: Absolutely.Tribal Knowledge Tip: The common strategy is to use high-quality third-party optics for 95% of your ports. Keep one or two pairs of OEM optics in your spare parts kit. If you ever need to call vendor TAC and they start blaming the optic, you can temporarily swap in the OEM pair to satisfy them.
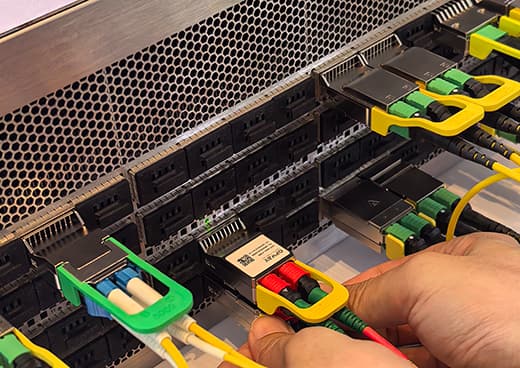
Step 3: Installation & Verification
Clean, Clean, Clean! Use a fiber click cleaner or wipes on every fiber end-face and port before connecting.Connect: Patch your switch ports to the corresponding wavelength ports on the MUX/DEMUX.Verify: Log into your switch and run the command (Juniper example):show interfaces diagnostics optics xe-0/2/0 You will see output like this: Code Laser output power : 0.5360 mW / -2.71 dBm Laser receiver power : 0.3639 mW / -4.39 dBmCheck your Laser receiver power. It must be within the sensitivity range of your transceiver and have an adequate margin.
Warnings from the Trenches: Real-World Pitfalls & Deep Troubleshooting
Classic Mistake #1: Receiver Overload You use a 10G-ER (40km) transceiver for a 5km link. The link comes up, but days later, it's flooded with CRC errors. Why? The ER optic's transmit power is too high, and you've effectively "blinded" the receiver on the other end. The Fix: When using long-range optics on short paths, youmust install anoptical attenuator in the line to reduce the power to a safe level for the receiver.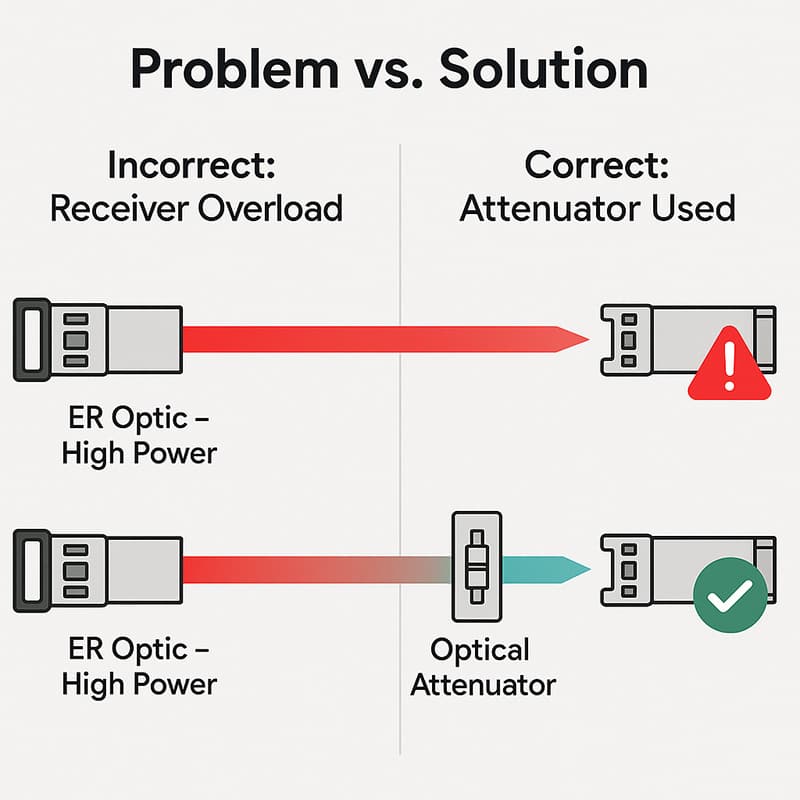
Classic Mistake #2: Chromatic Dispersion If you try to run 10G over a CWDM link longer than 40km, the higher wavelengths (e.g., 1570nm, 1590nm, 1610nm) can suffer from severe performance degradation due to dispersion. This is a law of physics.The simple takeaway: Is your link under 40km? You can safely ignore this. Focus all your energy on the link budget.
Deep Dive Case Study: When the Physical Layer is Perfect, but Performance Sucks
This is a true story from the r/networking community. An engineer deployed a 10Gb wave circuit. Light levels were perfect, and interface counters showed zero errors. But iPerf tests were stuck at 200-400Mbps.
The final culprit?queuing/buffer configuration on the ISP's upstream Cisco ASR 920 router. Once an ISP engineer tweaked the parameters, speeds instantly jumped to 940Mbps.The Lesson: CWDM solves the bandwidth problem on the physical layer, but the real performance bottlenecks can sometimes hide in the packet-handling devices you can't see.
Conclusion: Your Path to Expansion Starts Here
Budget your link like an accountant. Select your gear like a community veteran. Troubleshoot like a detective, looking beyond the physical layer.
Quick Hits: Clearing Up Common Questions
Mixing Brands? Yes, absolutely. As long as the wavelength matches and it's coded for your switch, it'll work. Mix and match all you want.Upgrading from 8 to 16 channels? It's dead simple. You just buy a second MUX/DEMUX for the other wavelengths and link them with the Expansion port. No downtime,
no replacing old gear.What about 40G or 100G? Stick to 10G for passive CWDM. That's its sweet spot. While 40G/100G CWDM optics exist, they're finicky and demand a perfect, low-loss link
that passive systems usually can't guarantee. If you need that kind of speed, it's time to have a serious conversation about DWDM or an active setup.
 800G Silicon Photonics vs. EML: 2026 Cost Analysis & Buying Guide
 100G QSFP28 Selection Guide: Why Your Link is "Half-Dead" & The 2026 Missing Manual
 The Field Guide to Fiber Optic Network Upgrades: An Engineer's Pre-Procurement Checklist
 A Deep Dive into High-Speed Data Center Interconnects: A Field Guide for Engineers on DACs, AOCs & Optical Transceivers