
100G Campus Network Upgrade: A Staged Backbone Planning Guide
A campus should move a backbone link to 100G when measured demand, growth and failure-mode capacity justify the change. The upgrade is not only a switch-port decision. It requires an audit of the installed fiber, supported optics, link loss, redundancy, routing design, maintenance windows and rollback plan.
The safest migration is staged. Upgrade the constrained distribution-to-core or building backbone links first, validate the new optical paths, and retain a controlled return path until the operational baseline is stable.
Confirm that bandwidth is the real constraint
Collect evidence before ordering hardware:
- Normal and peak utilization by uplink
- Queue drops, congestion events and error counters
- Traffic growth from wireless, research, video, storage and cloud services
- Performance during a link or node failure
- Current oversubscription between access, distribution and core layers
- Application latency or availability requirements
- Planned building, device and access-point growth
An overloaded uplink can justify a speed increase. Packet loss caused by a duplex mismatch, failing optic, dirty connector, routing loop or poor quality-of-service policy requires a different correction.
Map the campus architecture and failure domains
Record every access block, distribution pair, core connection, building entrance and external service handoff. Identify which users and services depend on each path.
Cisco's campus design guidance emphasizes that capacity and high availability must be considered together. A link that carries acceptable traffic in normal operation may become the bottleneck after one peer or path fails.
For every planned 100G link, calculate both:
- Normal-state utilization with all intended paths available
- Failure-state utilization after the loss of one link, switch, supervisor or route
This avoids upgrading headline capacity while leaving an under-sized recovery path.
Audit the installed fiber plant
The existing cable plant determines which optical applications are practical. Record:
- Single-mode or multimode fiber
- Fiber category where documented
- Available strand count
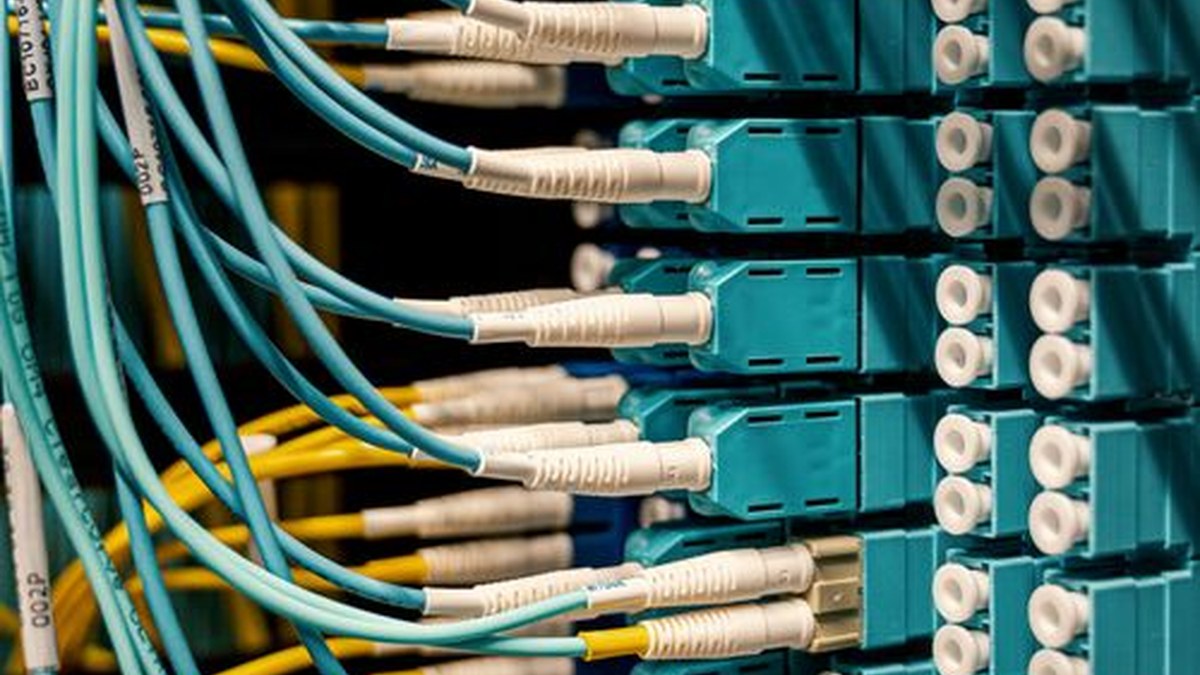
- Connector type and polish
- Patch panels, cassettes, adapters and splices
- Measured route length
- End-to-end insertion loss
- Known repairs, contamination or damaged sections
Do not assume a fiber path that carries 10G will automatically carry the chosen 100G application over the same distance. Multimode reach can change with the optical application and installed fiber. Single-mode routes still require the correct wavelength, connector path and optical budget.
Inspect and clean connectors before acceptance testing. Preserve baseline loss measurements for future maintenance.
Match the 100G interface at both endpoints
Choose the optical application only after confirming both host ports and the cable plant.
Verify:
- Switch or router model and line card
- Software release
- Supported 100G port mode
- Transceiver form factor and exact application
- Fiber type, connector and reach
- Forward error correction requirements
- Breakout capability if the port may be split
- Digital optical monitoring support
- Compatibility coding at each endpoint
A dual-rate or multi-mode port can support a useful staged migration, but only when the exact platform and optic documentation confirms the intended operation.
Decide where 100G creates the most value
Common first targets include congested distribution-to-core links, large-building aggregation, data-center or research-network connections and resilient inter-building paths.
Do not upgrade every access link automatically. A smaller campus may obtain more value by improving redundancy, removing a 10G bottleneck or consolidating old fiber paths than by replacing every capable switch.
Rank candidate links by:
- Current congestion and failure-state risk
- Number and importance of affected users or services
- Fiber and platform readiness
- Ease of staging and rollback
- Expected growth during the equipment lifecycle
Build a migration BOM, not only an optics list
The bill of materials should include more than the two transceivers.
Record:
- Host platforms, line cards and licenses where applicable
- Compatible optics for both ends
- Patch cords, cassettes, adapters and cleaning supplies
- Spare optics and known-good test components
- Fiber remediation or new strand requirements
- Labels and documentation updates
- Test instruments and acceptance criteria
- Maintenance window, staff and rollback resources
Mixed-vendor campuses may require different coding at each endpoint even when the optical application is the same. Record each end separately.
Stage the upgrade before the maintenance window
A representative test should reproduce the production host, software, optics and fiber conditions as closely as practical.
- Confirm module identity and host acceptance.
- Configure the intended port mode and FEC.
- Measure transmit and receive optical power.
- Check interface and error counters.
- Pass representative traffic.
- Test the expected redundant path and failure behavior.
- Save the working configuration and baseline readings.
- Confirm the rollback configuration and original link components.
Do not use the production window to discover that a line card, software release or patch-panel connector does not support the planned link.
Roll out in controlled phases
Start with one well-understood path. Monitor utilization, errors, optical levels, route behavior and user impact. After the acceptance period, repeat the proven design for the next priority link.
Keep the original configuration and recoverable components until the new link passes the agreed stability period. Update diagrams, labels, spares and monitoring thresholds at the same time as the physical change.
Frequently asked questions
Does Wi-Fi 7 automatically require a 100G campus core?
No. Wireless growth can increase aggregate demand, but the required backbone speed depends on measured traffic, oversubscription, site scale, redundancy and application needs.
Can existing 10G fiber be reused for 100G?
Sometimes. Verify the fiber type, route length, connector path, insertion loss and the exact 100G optical application. A working 10G link is not sufficient evidence by itself.
Should the core or access layer be upgraded first?
Upgrade the measured constraint and the failure-state bottleneck first. Many campuses begin with distribution-to-core or high-demand building links rather than replacing every access uplink.
Is 100G breakout useful during migration?
It can be useful when the platform, lane plan, cable or optic and child endpoints all support the intended breakout. Verify the exact topology and FEC at every child link.
How many spare 100G optics should a campus keep?
Set spares from failure impact, lead time, number of approved variants and maintenance policy. Reduce unnecessary variants so a smaller spare pool can cover more critical links.
What information is needed for a campus upgrade BOM?
Provide the topology, both endpoint platforms, software, port modes, current utilization, failure-state capacity, fiber inventory, route loss, connector path, quantities and rollout sequence.
Build a staged 100G upgrade plan
Review the Enterprise and Campus solution, optical transceiver options and the product catalog. Contact Axonode with the campus topology, hosts, fiber records, measured losses and upgrade priorities for a compatibility and BOM review
 Optical Transceiver Sample Qualification Before a Volume Order
 WDM Channel Inventory and Spare Optics Planning
 Thermal Planning for High-Density Pluggable Optics
 Optical Transceiver RMA Evidence Checklist: Prove the Fault Before Return